

A leaking faucet can be a persistent and irritating problem in any household. Among the various types of faucet leaks, one common issue is a leak at the base. This type of leak not only wastes water but can also lead to structural damage if left unattended.
If you’ve been Googling “kitchen or bathroom faucet leaking at base,” you’ve come to the right place!
In this blog post, we will teach you all about:
- The potential causes of a leaking faucet at the base
- How to fix it
- When it’s time to call in a professional plumber
5 Potential Causes of a Faucet Leak at the Base
Before attempting to fix a leaking faucet at the base, it’s essential to understand the possible reasons behind the issue. Identifying the root cause will help you choose the right solution. Here are some common causes:
1) Worn-Out O-Ring
The O-ring is a small rubber or plastic gasket located at the base of the faucet handle. Over time, it can degrade, crack, or become loose, allowing water to seep out. A damaged O-ring is often the culprit behind base leaks.
2) Loose or Damaged Handle
If the faucet handle is loose or damaged, it may not form a proper seal with the base. This can result in water leakage. Check for any visible cracks or signs of wear on the handle.
3) Corroded Valve Seat
The valve seat is a part of the faucet’s internal mechanism that connects the spout to the base. When it becomes corroded or worn, water can escape from the base. Mineral deposits and hard water can accelerate this corrosion.
4) Faulty Washer
Washers inside the faucet handle can deteriorate with time. When they do, they may not create a watertight seal, leading to leaks at the base. Replacing the washer is a common fix for this issue.
5) Loose Connection
Sometimes, the connections between different components of the faucet, such as the spout and base, can become loose due to wear and tear. This can allow water to escape from the base of the faucet.
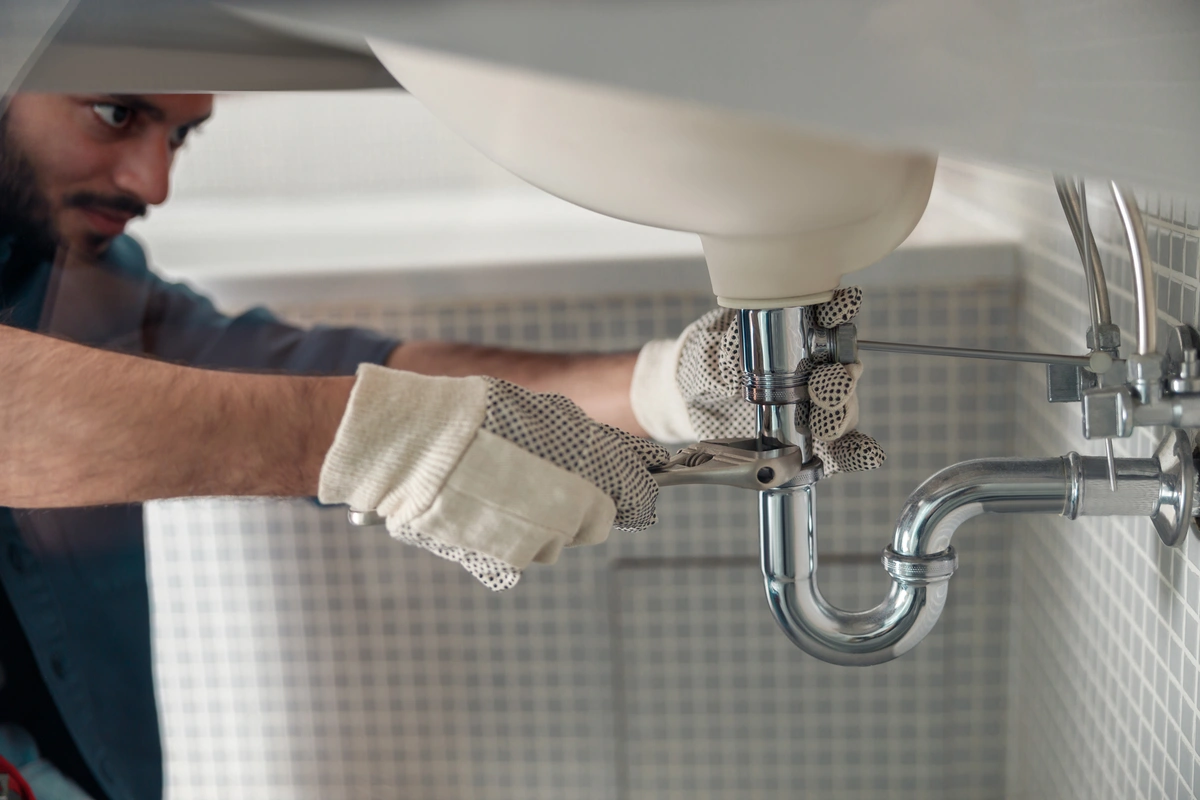
How to Fix a Faucet Leak at the Base: 7 Steps
Now that we’ve identified potential causes, let’s delve into how to fix a leaking faucet at the base. Note that the specific steps may vary depending on your faucet type and brand. Always refer to the manufacturer’s instructions when available. Here’s a general guide to help you address the issue:
Tools and Materials You Will Need:
- Adjustable wrench
- Screwdriver (flathead or Phillips, depending on your faucet)
- Replacement parts (O-ring, washer, or valve seat)
- Plumber’s tape
- Bucket or towels for cleanup
Step 1: Turn Off the Water Supply
Before you start any repair work, shut off the water supply to the faucet. Typically, there are shut-off valves under the sink. Turn these valves clockwise until they are fully closed.
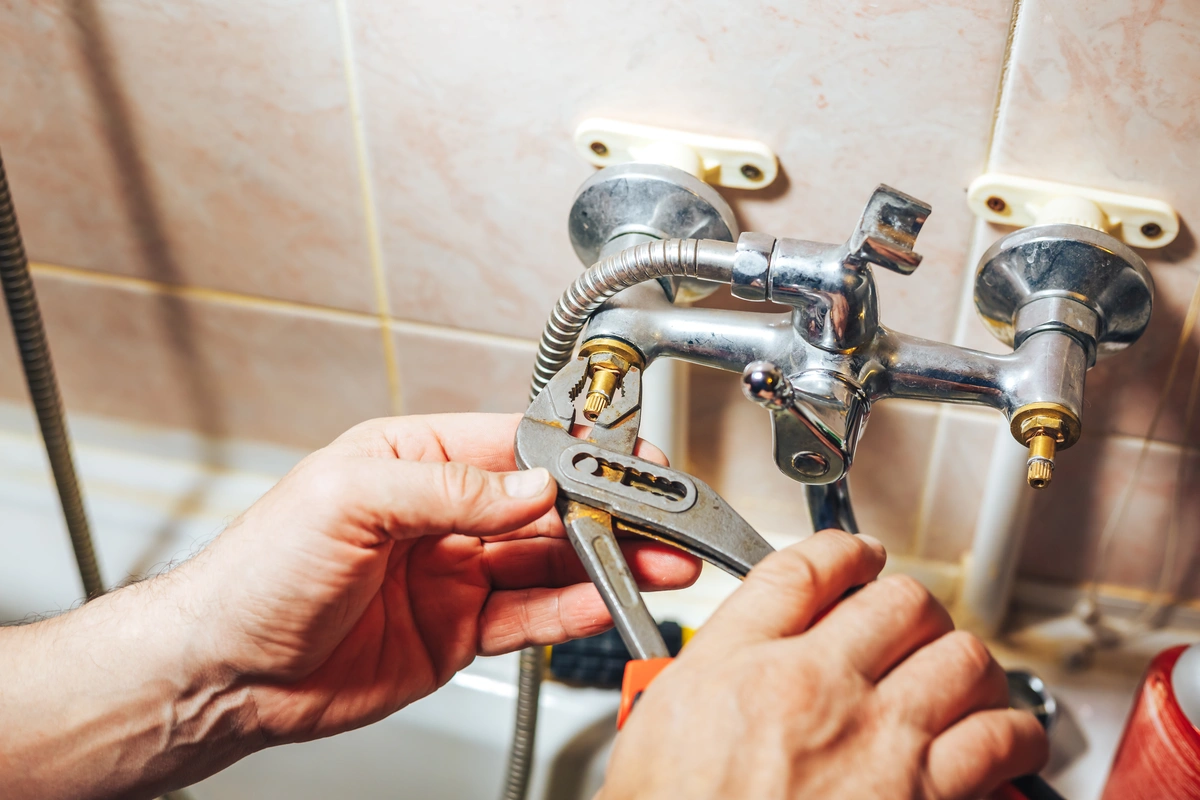
Step 2: Remove the Faucet Handle
Use a screwdriver to remove the screw securing the faucet handle. Once the screw is removed, gently pull the handle off. This will expose the internal components of the faucet.
Step 3: Inspect and Replace Parts
Inspect the O-ring, washer, and valve seat for any signs of damage, wear, or corrosion. If you identify any issues, replace the damaged components with new ones. You can find replacement parts at most hardware stores or online.
Step 4: Apply Plumber’s Tape
Wrap plumber’s tape around any threads or connections that may be contributing to the leak. This tape helps create a watertight seal.
Step 5: Reassemble the Faucet
Carefully reassemble the faucet in the reverse order of disassembly. Make sure all components are properly aligned and secure. Tighten the handle back in place with the screw.
Step 6: Turn On the Water Supply
Once everything is reassembled, turn the water supply back on by turning the shut-off valves counterclockwise. Check for any leaks at the base of the faucet. If the leak persists, try tightening the connections further.
Step 7: Test the Faucet
Turn on the faucet and allow it to run for a few minutes. Check for any remaining leaks at the base. If you no longer see any water seeping out, congratulations – you’ve successfully fixed the issue!
When to Call a Plumber
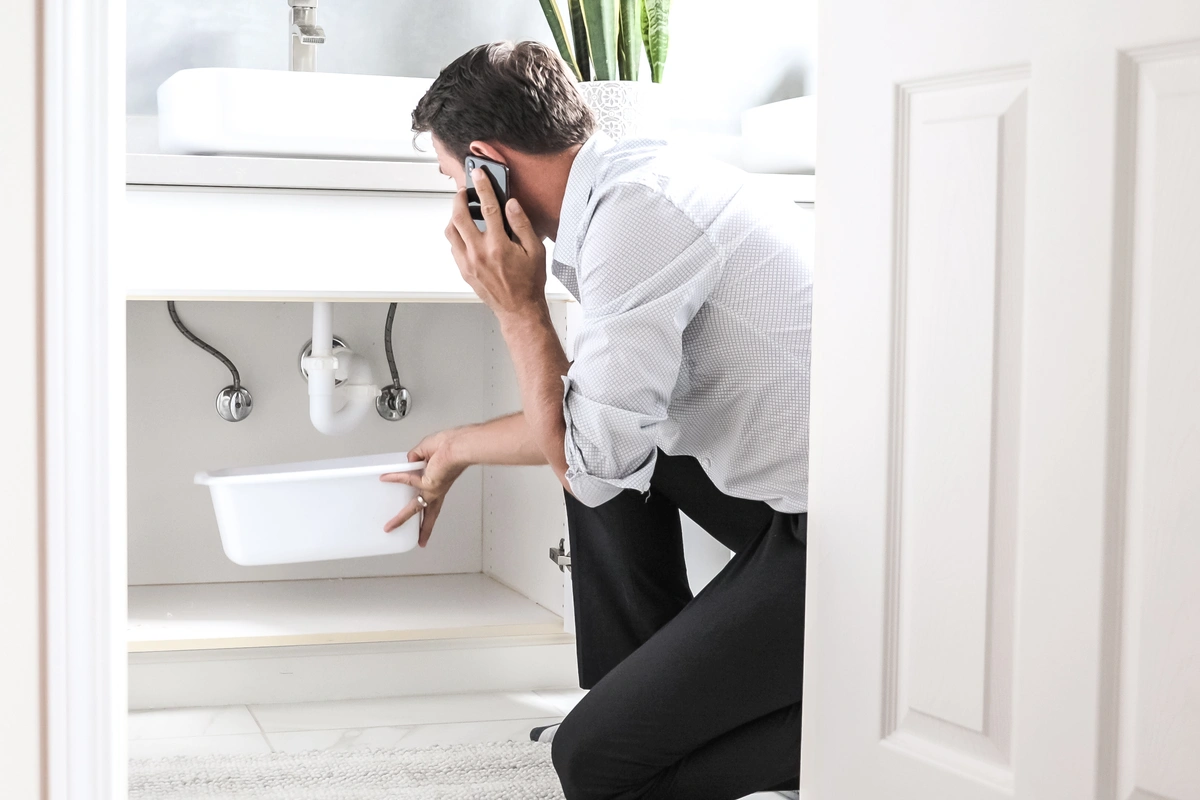
While fixing a leaking faucet at the base can often be a DIY project, there are situations when it’s best to call in a professional plumber. Here are some scenarios when professional help is advisable:
- Complex Repairs: If you’ve followed the steps above and the leak persists, there may be more complex issues with the faucet’s internal components that require professional expertise.
- Old or Outdated Faucets: Older faucets may have unique parts that are difficult to find or replace. In some cases, it might be more cost-effective to replace the entire faucet rather than attempting extensive repairs.
- Lack of Plumbing Experience: If you’re not comfortable working with plumbing fixtures or lack experience in such repairs, it’s safer to hire a plumber. Attempting repairs without the necessary skills can lead to further damage.
- Multiple Leaks: If you have multiple leaks in different parts of your plumbing system, it’s a sign of potential larger issues. A professional plumber can perform a comprehensive assessment and address all problems simultaneously.
- Structural Damage: If the leaking water has already caused damage to your walls, cabinets, or flooring, it’s crucial to have a plumber assess the situation and recommend the necessary repairs.
Work With a Trusted Team
A leaking faucet at the base can be a nuisance, but with a little know-how, you can often resolve the issue on your own. When you need a helping hand, though, don’t hesitate to reach out to the friendly and knowledgeable team at AJ Alberts Plumbing. We’re there for you through all of your plumbing issues, from bathroom faucet leaks to gas line installations.
Ready to get started? Contact our team today to book your service appointment!